Upgrading to a Larger Instance
Upgrading to a Larger Instance
- As your website or application attracts more users, the resources required to handle the increased traffic will continue to grow. Lightsail makes it easy to scale up your website or application with just a few simple clicks. In this section, we will enhance the resources for our WordPress website to handle more concurrent connections.
-
To switch to a larger instance, we need to manually create a snapshot of the current instance (this should have been done in the previous section). If you’re not already in the snapshot page, navigate to ‘Home’ > ‘Workshop-WordPress’ > Snapshots.
-
Click on the three dots on the right side of the snapshot row.
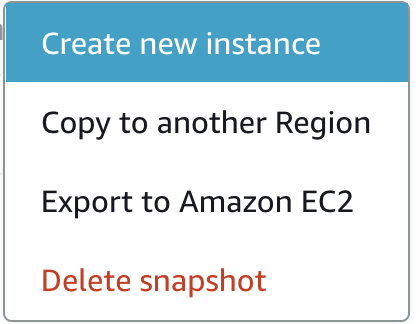
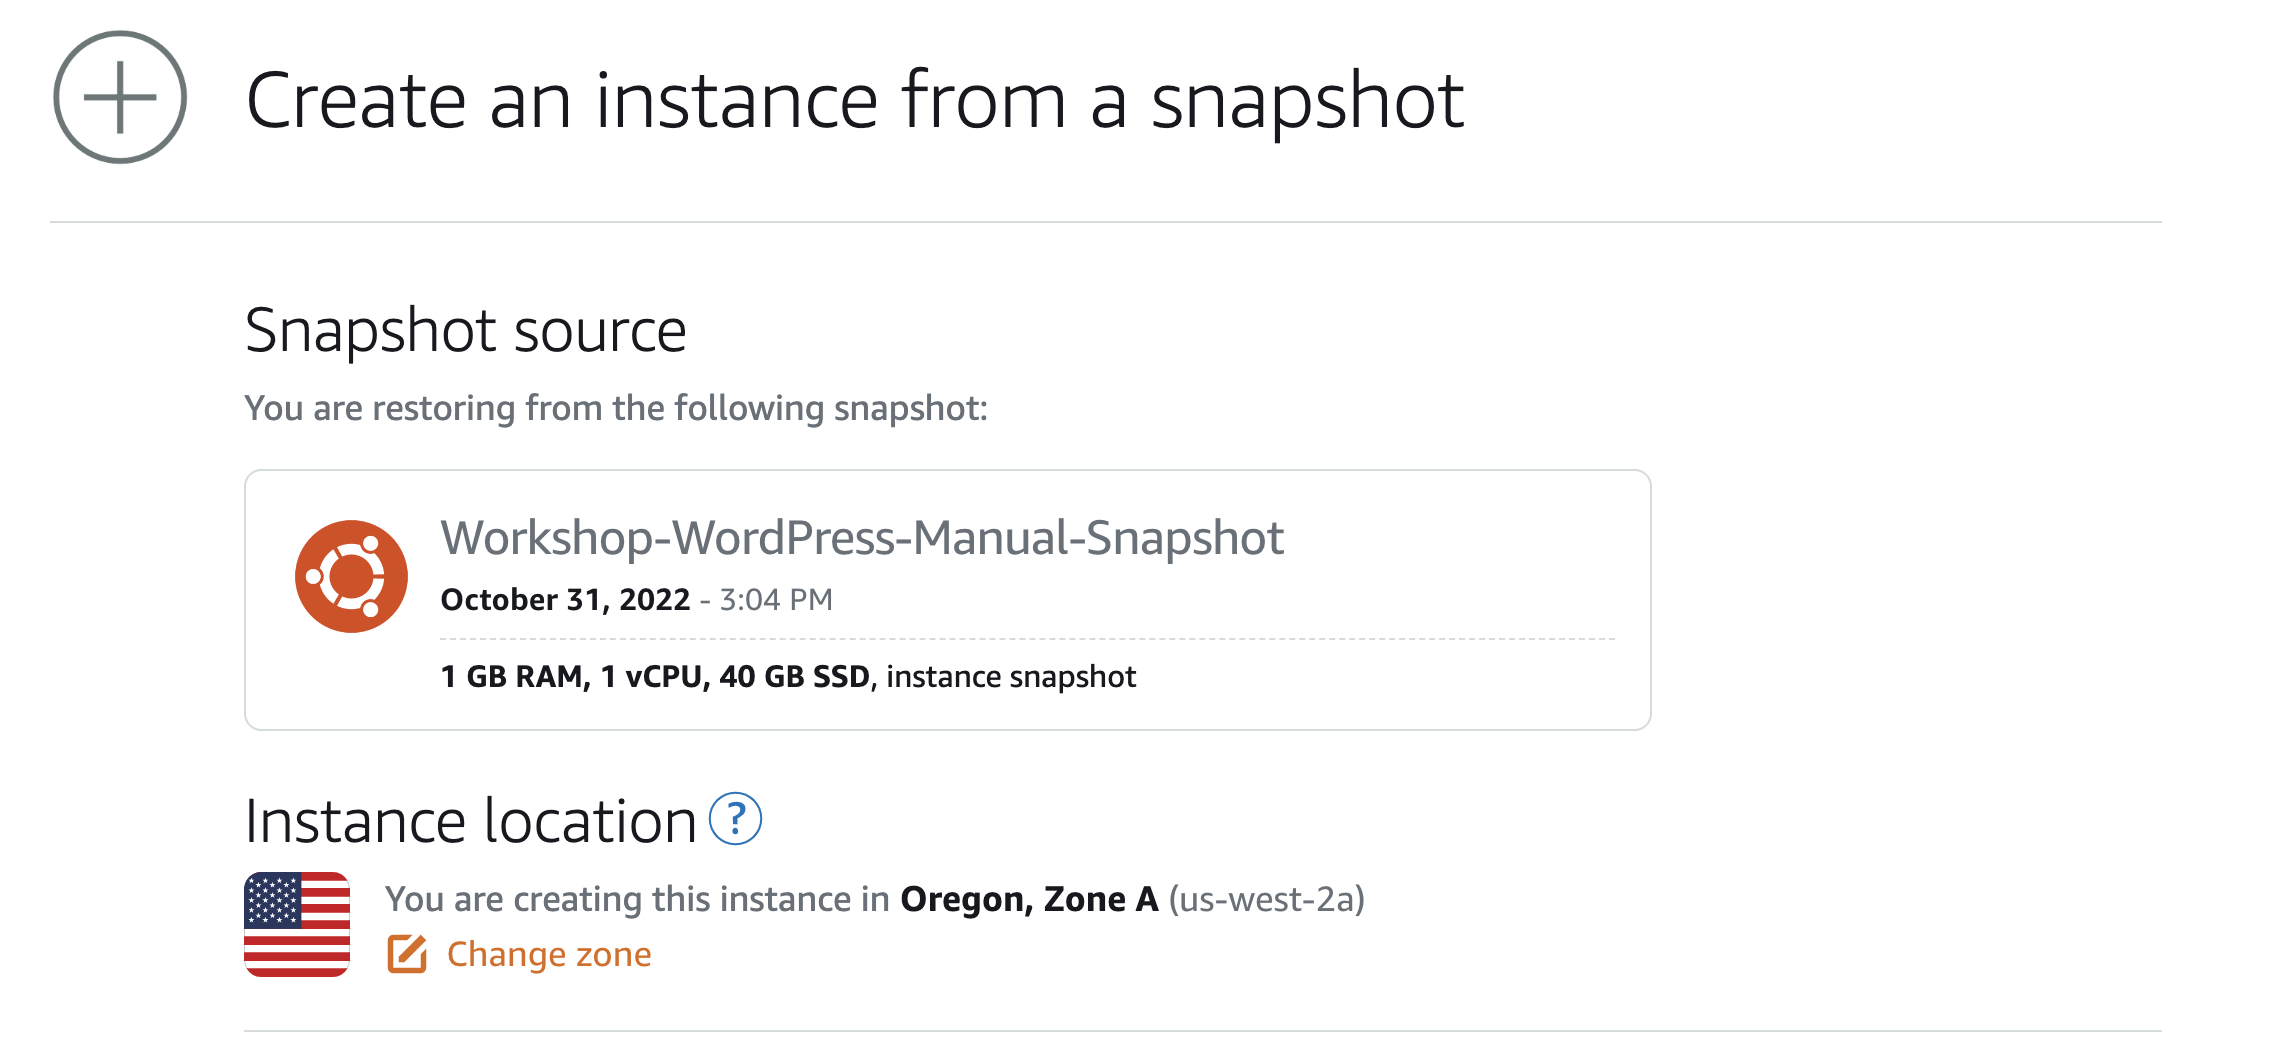
- Choose Create new instance. In this article, you will see the source snapshot and the location of the instance. We will keep all these settings as they are.
- We will enable the snapshot feature. Select the “Enabled Automatic Snapshots” checkbox.

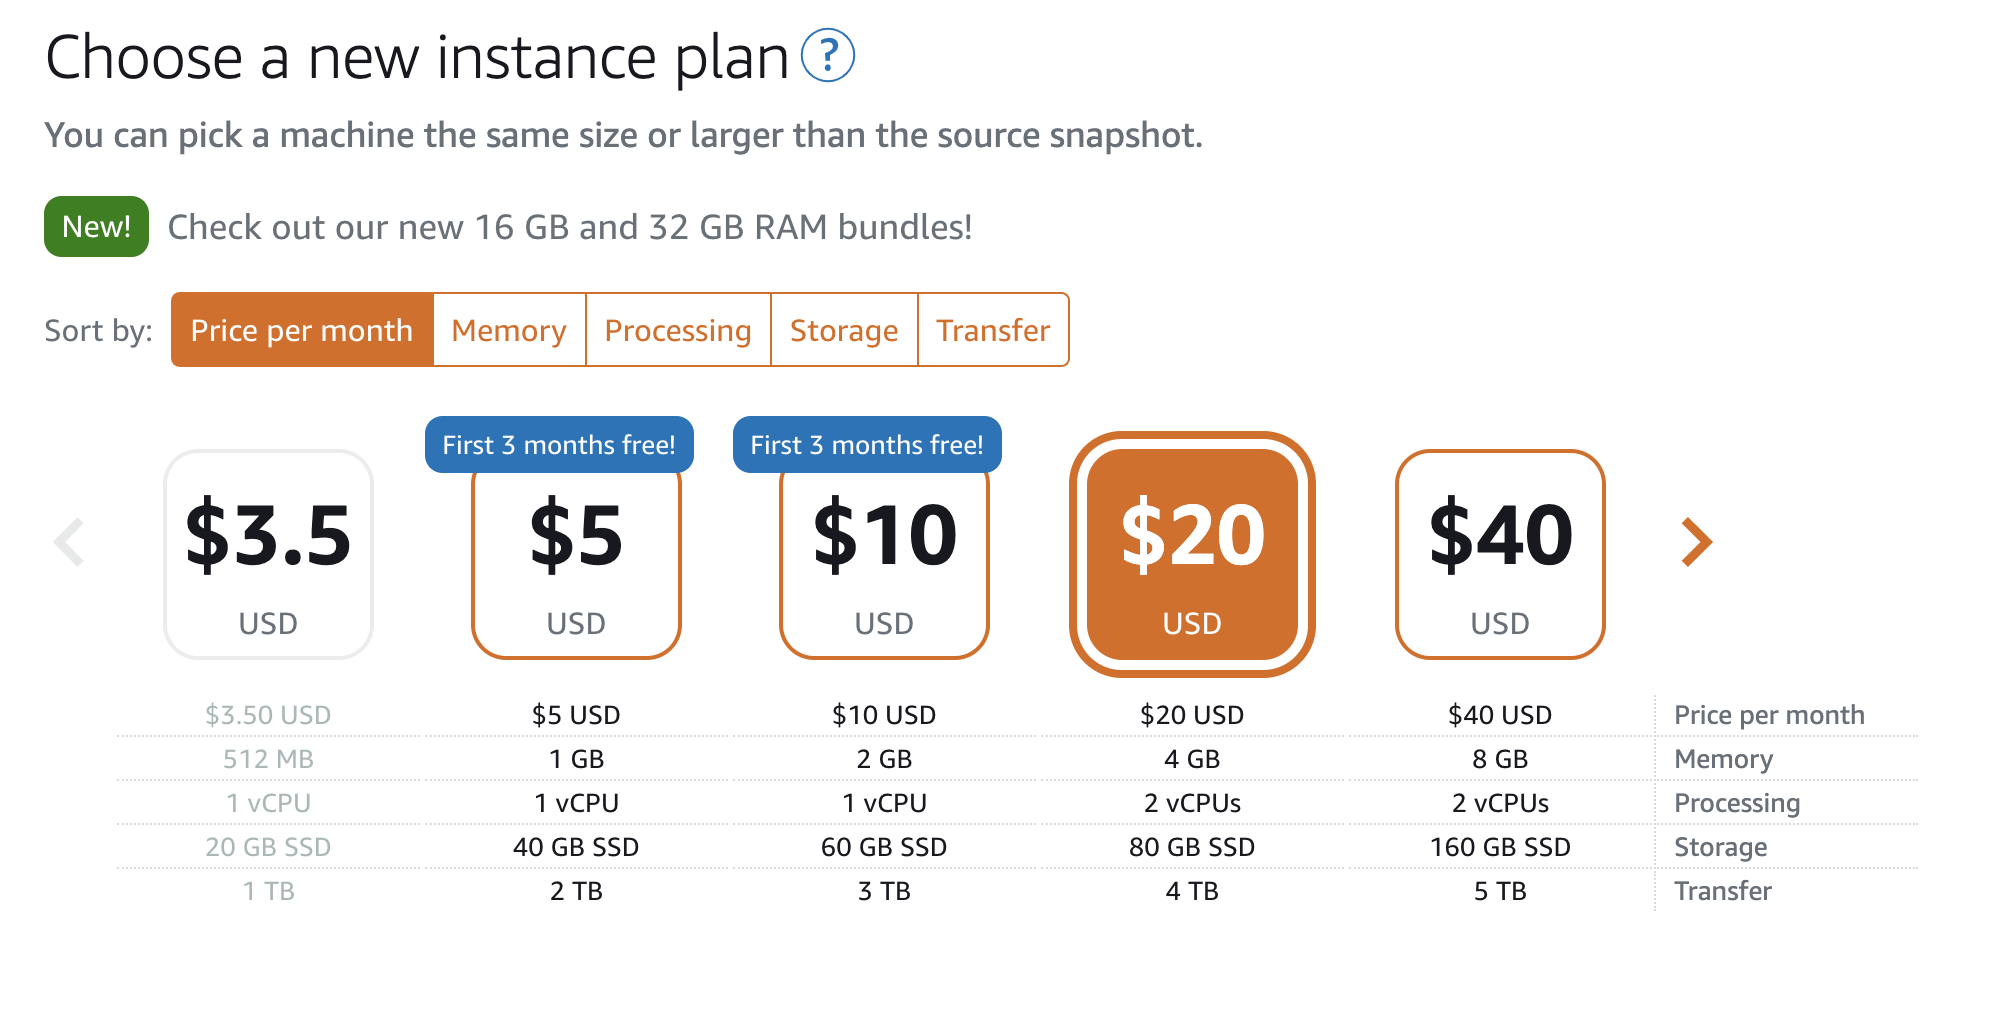
- Under the ‘Choose a new instance plan’ section, we will increase the virtual machine size from 1GB/1vCPU to 4GB/2vCPU at a cost of $20 USD. Click on $20 USD.
-
In this case, to give a new name to our instance in the ‘Identify your instance’ section, enter ‘Workshop-WordPress-Medium’ to differentiate between the original size and the new size.
-
Select Create instance.
-
A new virtual machine will be deployed. Now, we need to attach the static IP address from the original WordPress website to the new one.
- Click on the Workshop-WordPress virtual machine.
- Choose the Networking tab.
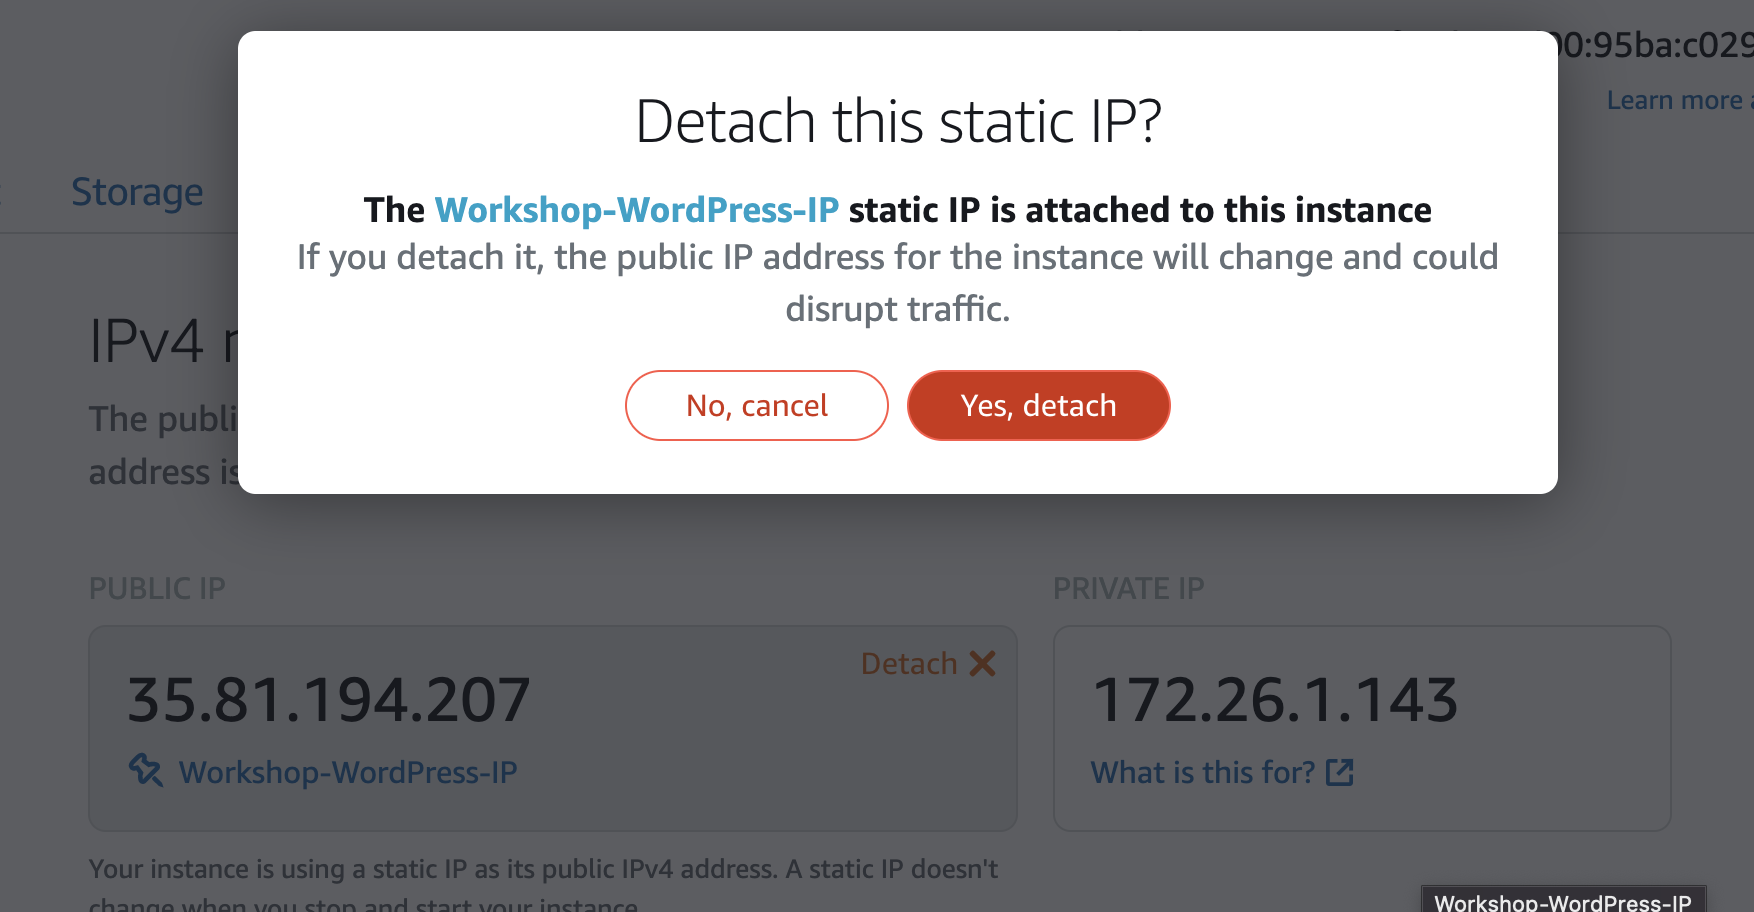
- Under the PUBLIC IP section, select Detach. Then, select Yes, detach.
- Click the Home button at the top of the page and select the new WordPress instance ‘Workshop-WordPress-Medium’.
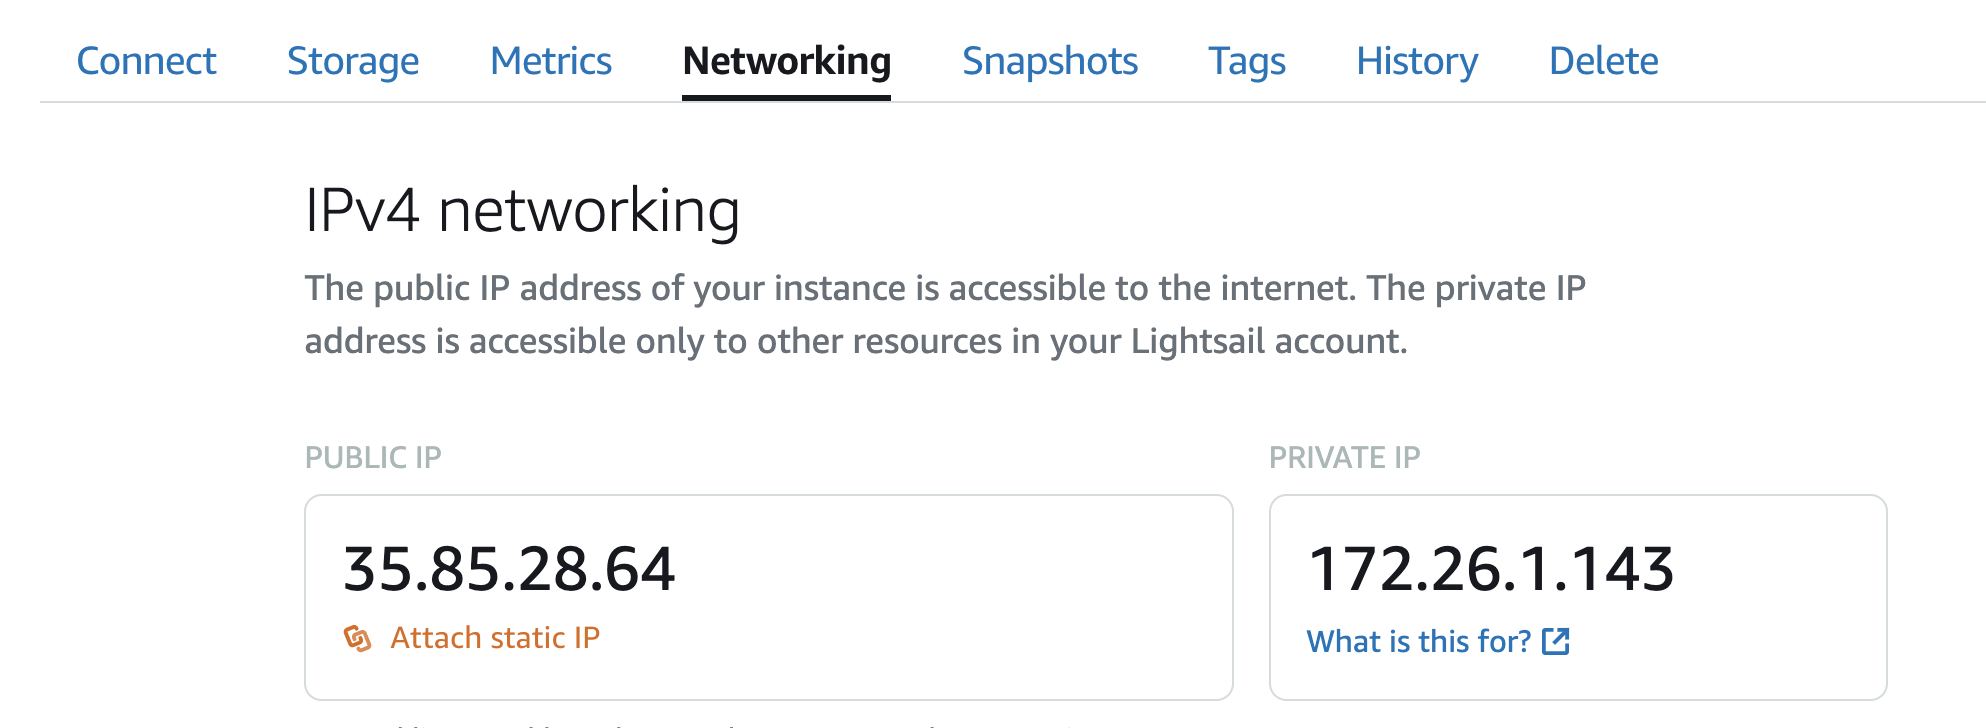
- Click on the Networking tab.
- Under the ‘PUBLIC IP’ section, click on Attach static IP. Choose ‘Workshop-WordPress-IP’ from the dropdown list, and then click Attach.
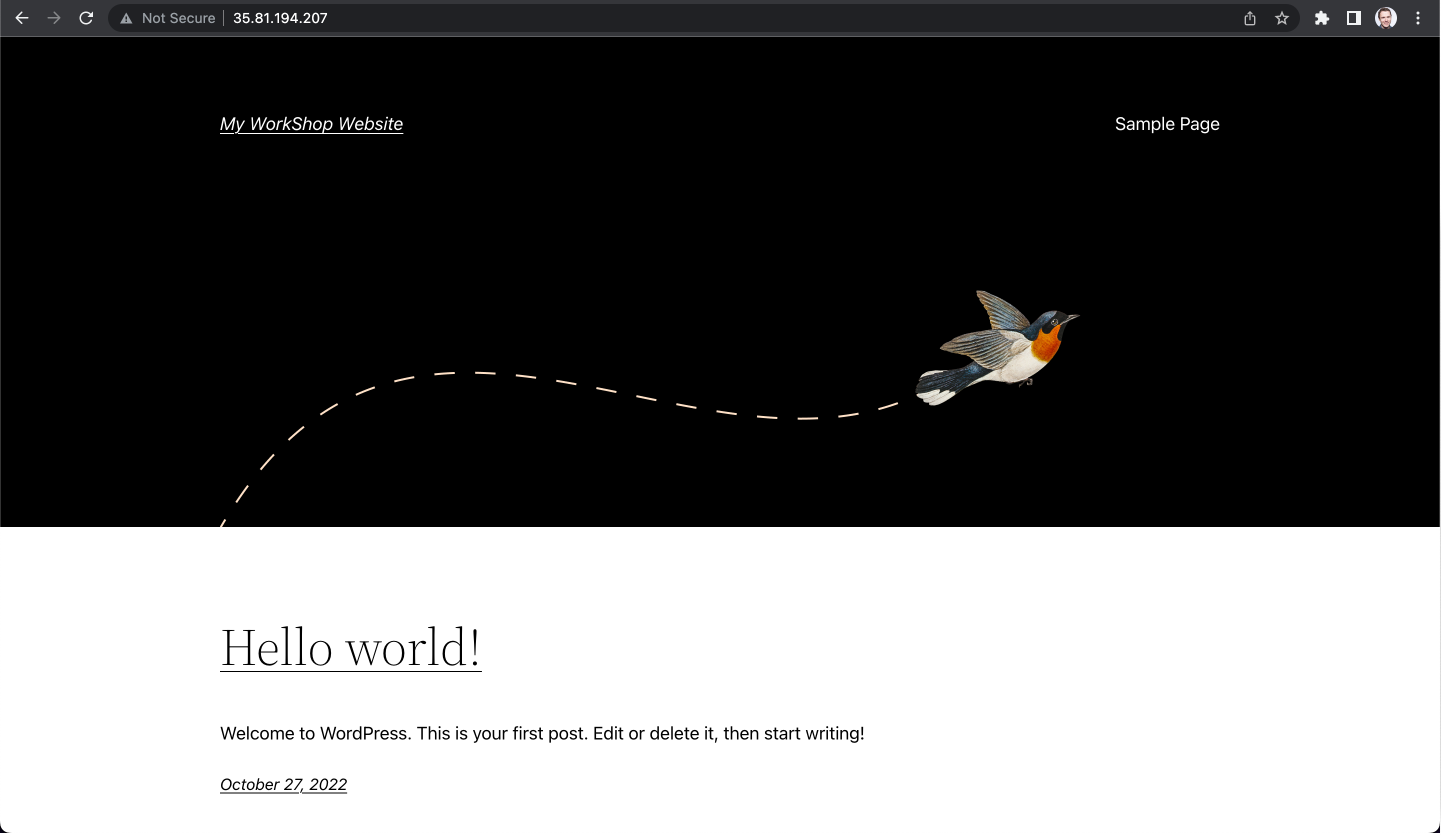
- Now, you can copy the static IP address into your browser and try accessing the website.
- Press the Home button and click on the three dots on the right of the ‘Workshop-WordPress’ name.
- Click on Delete.
- This will remove the virtual machine but will not delete the manually created snapshot, which we’ll keep temporarily as a backup if needed. Click Yes, delete.
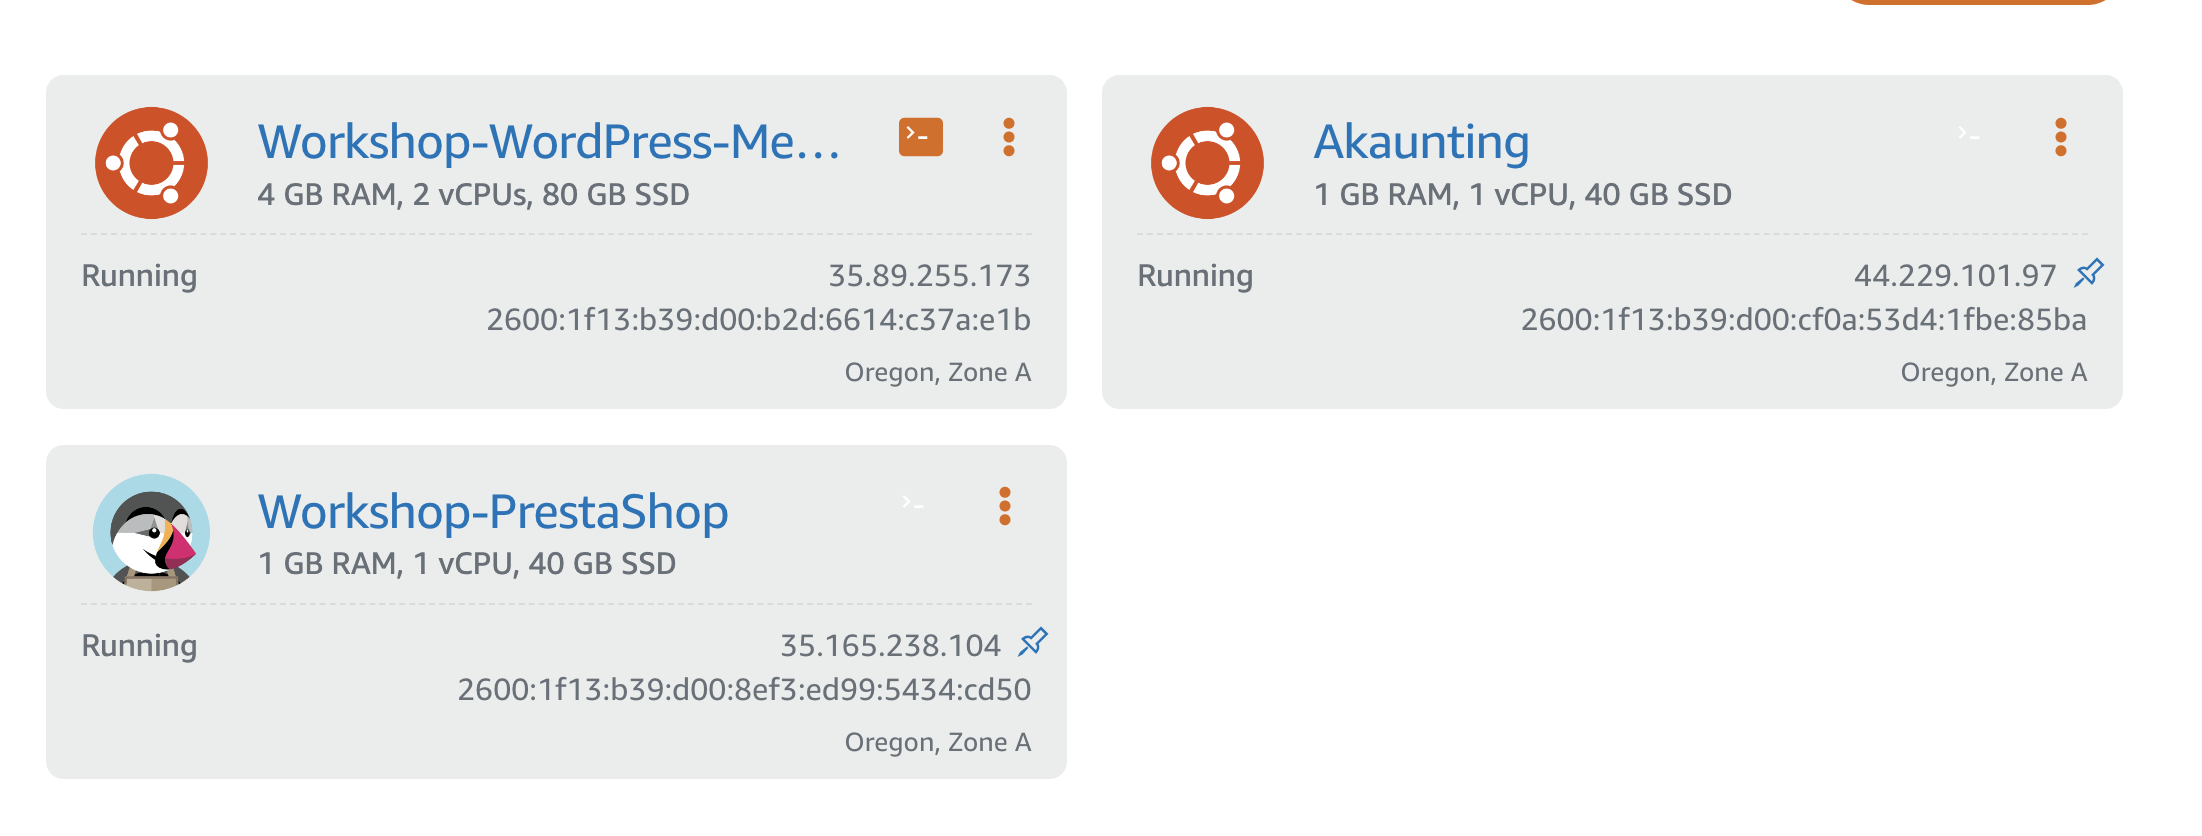
- Now, you will have three virtual machines again.