Application Security
-
One of the pillars of the AWS Well-Architected Framework is ‘Security.’ It is essential to ensure that our virtual machines, databases, and applications are always maximally protected. We use different passwords for various applications and databases, and we want to minimize the attack surface of our application as much as possible.
-
The attack surface refers to points that could become entry points or positions that can be targeted by potential attackers. For each Lightsail virtual machine, we want to close as many ports as possible without disrupting availability to minimize the potential access points for attackers.
-
We need to understand how to work with our Lightsail virtual machines. To communicate with our virtual machines, we use Entê or Putty SSH through the Terminal or use the SSH console in the browser. We need port 22 open for this. However, after configuring our applications, we should close port 22 to enhance security for our virtual machine. Port 22 can be opened when needed for login and further configuration.
-
We will start with WordPress.
-
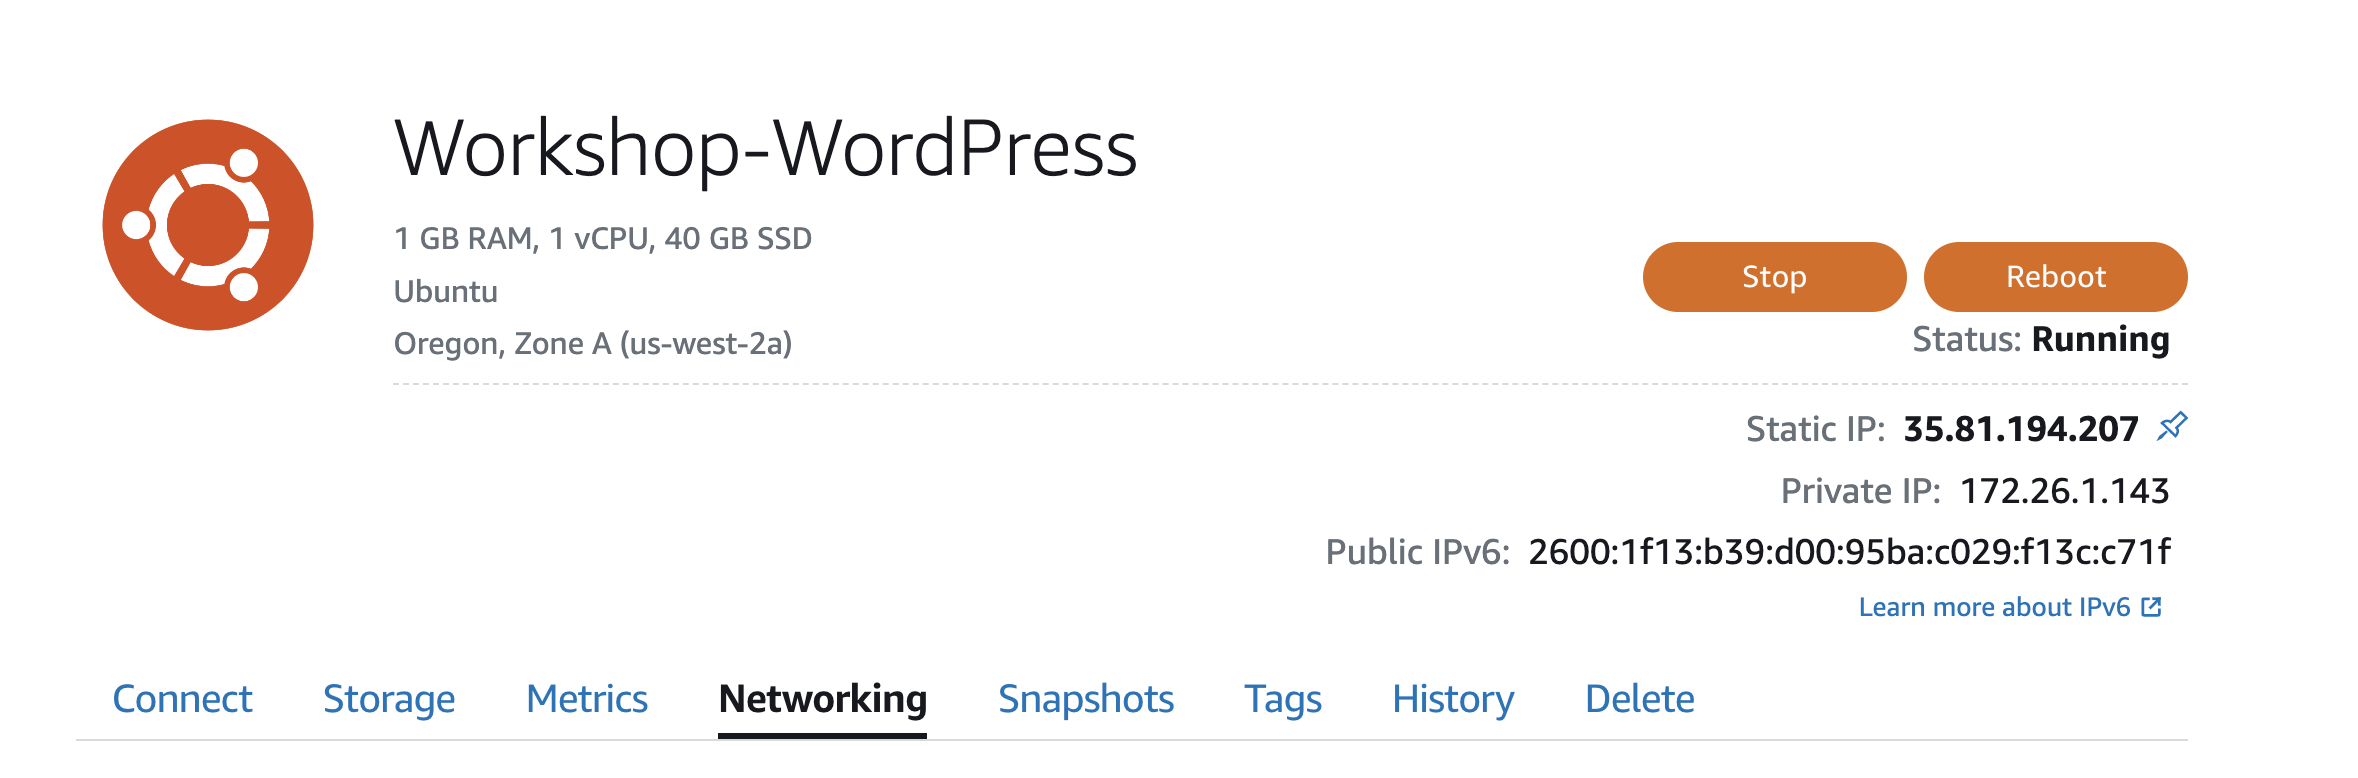
On the Instance tab, click on Workshop-WordPress.
-
Click on Networking.
-
-
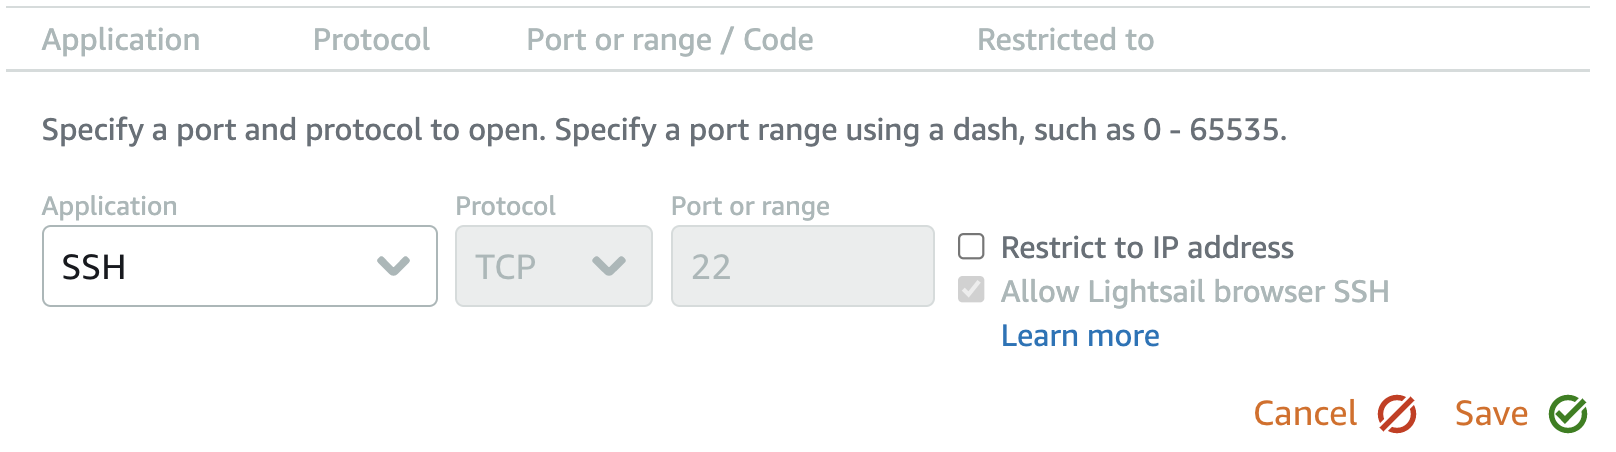
Scroll down to the ‘IPv4 Firewall’ section and click on the ‘Modify’ icon next to ‘SSH.’

-
Here, you can restrict access to Port 22 in several ways:
- [Good] Restrict access from the Lightsail SSH console (users can still access SSH through other tools).
- [Better] Restrict access only from specific IP addresses, allowing access to the port from specific IP addresses (e.g., home, office).
- [Best] We can remove all access to Port 22 (click Cancel and then the trash can icon).
-
Since we no longer need to log in to our instance, we will remove all access to Port 22.
- Click on Cancel.
- Click on the Trashcan icon next to SSH.
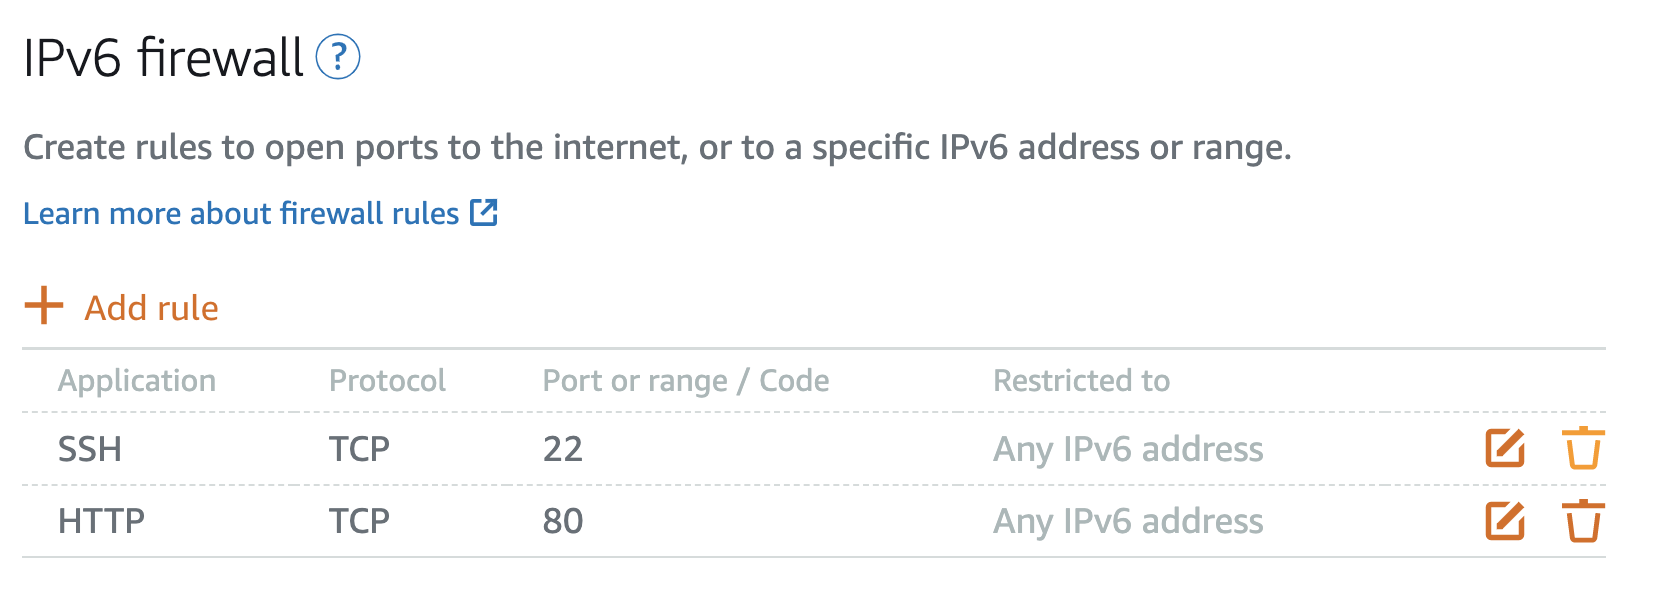
- Scroll down to the IPv6 firewall section.
-
Repeat the above steps.
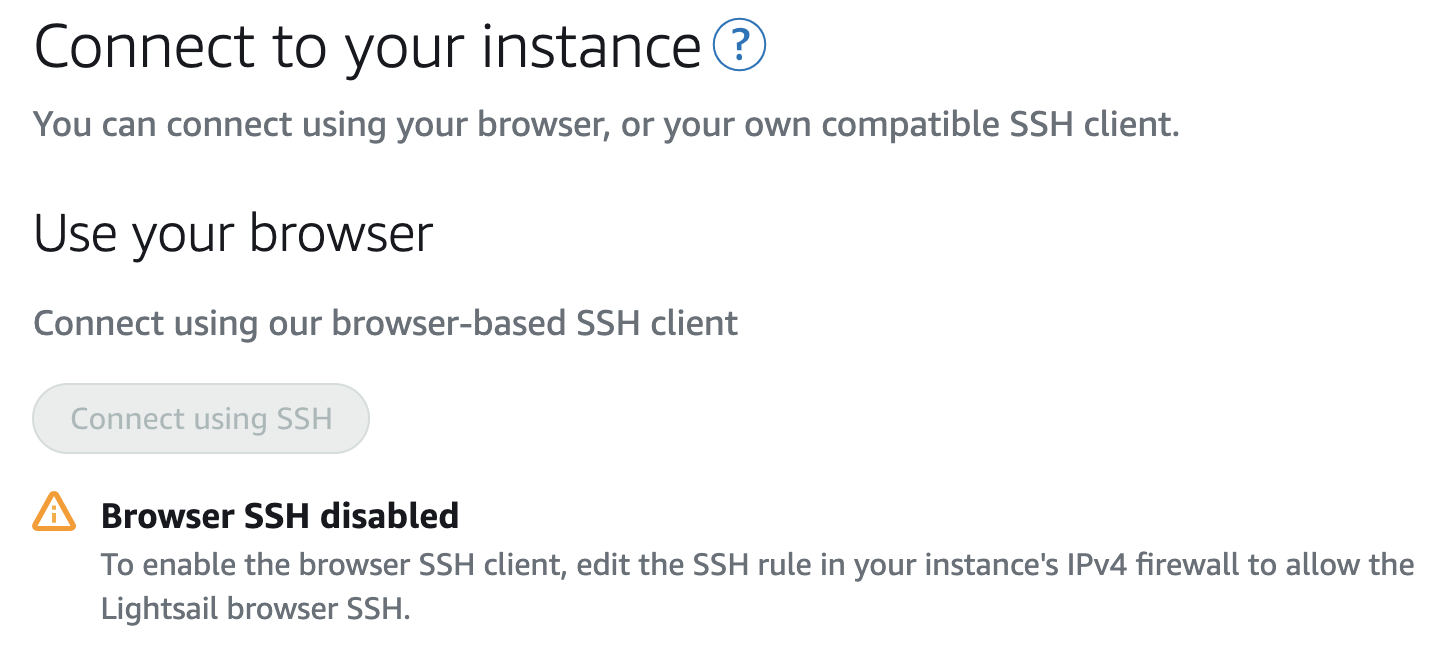
- Scroll back to the top of the page and click on the Connect tab.
- You’ll see that SSH Browser is now disabled (along with any other SSH).
-
We will repeat similar steps for PrestaShop and Akaunting.
- Repeat the steps for both ‘PrestaShop’ and ‘Akaunting’ instances.
- Note: In a real-world environment, we would enable SSL certificates (HTTPS) and redirect all traffic to HTTPS. We would also enable HTTPS (TCP 443) on each instance to allow connections through that port.
- Click Next in this guide after SSH has been disabled for both IPv4 and IPv6 on all three instances.