Networking Configuration
Networking Configuration
-
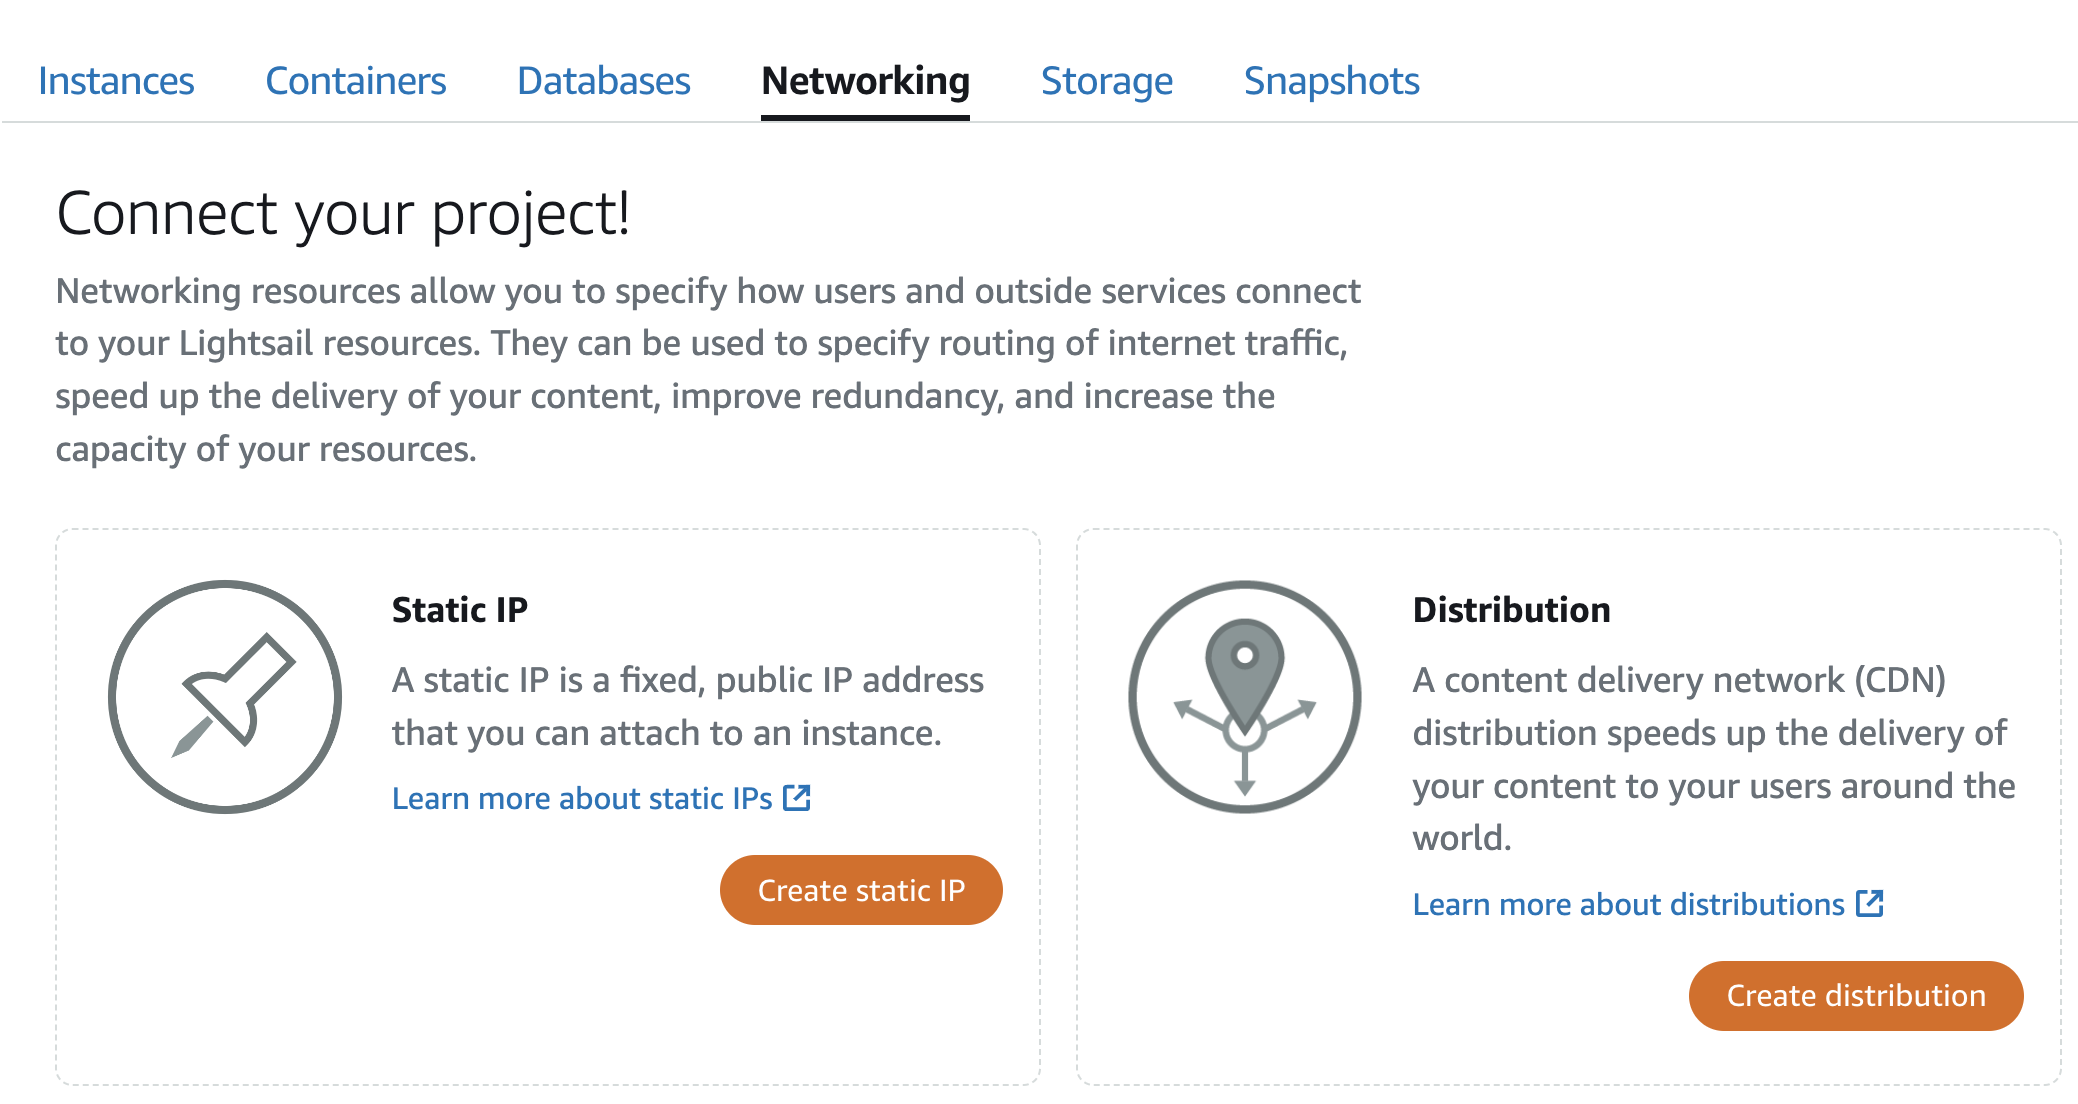
Assign a Static IP Address to WordPress
- We want to ensure that the IP address for WordPress remains unchanged even if the virtual machine is restarted or updated.
- Click the Home button and then select Networking.
- Choose Create Static IP
-
Under the ‘Attach to an instance’ section, click the dropdown box and select ‘Workshop-WordPress’.
-
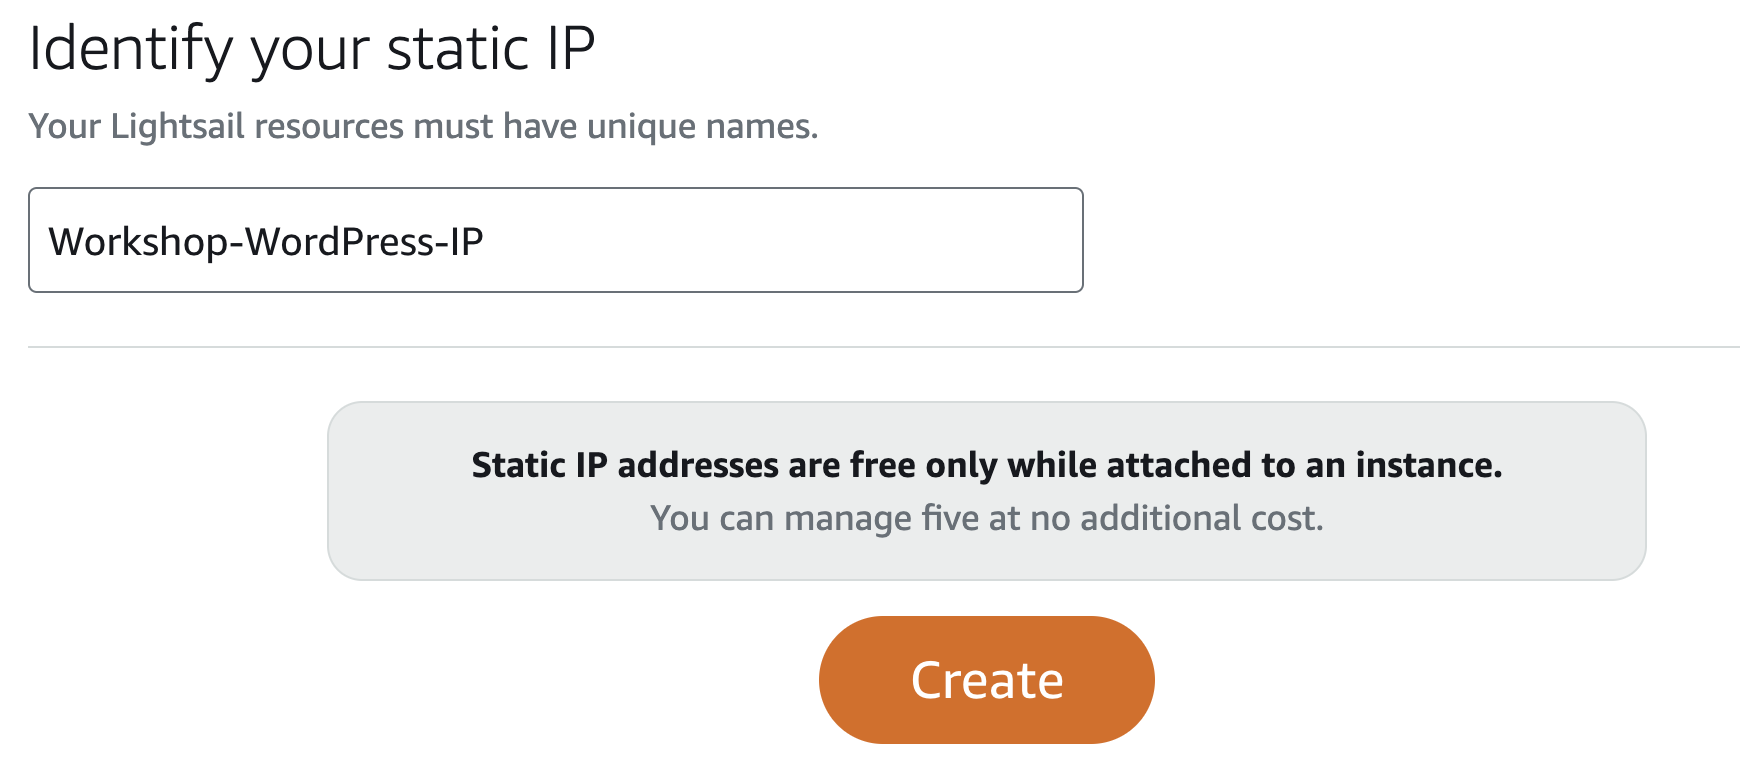
We need to name our static IP address. It should not have the same name as the virtual machine. Clear the default name and enter ‘Workshop-WordPress-IP’.
-
Click Create
- We often prefer things to happen quickly and smoothly, don’t we? This is a simple but important step not to overlook. When configuring an application with a domain name (like example.com), you will specify DNS records for that domain to point to the IP address of the virtual machine. This process can take anywhere from 1 minute to 48 hours to propagate across the internet. Setting DNS records to a static IP prevents this propagation process from happening again if you deploy a new virtual machine, for instance. Just attach the static IP, and you can access the website immediately.