Ubuntu Configuration
Ubuntu Configuration
-
Customize Ubuntu
- Open the SSH browser.
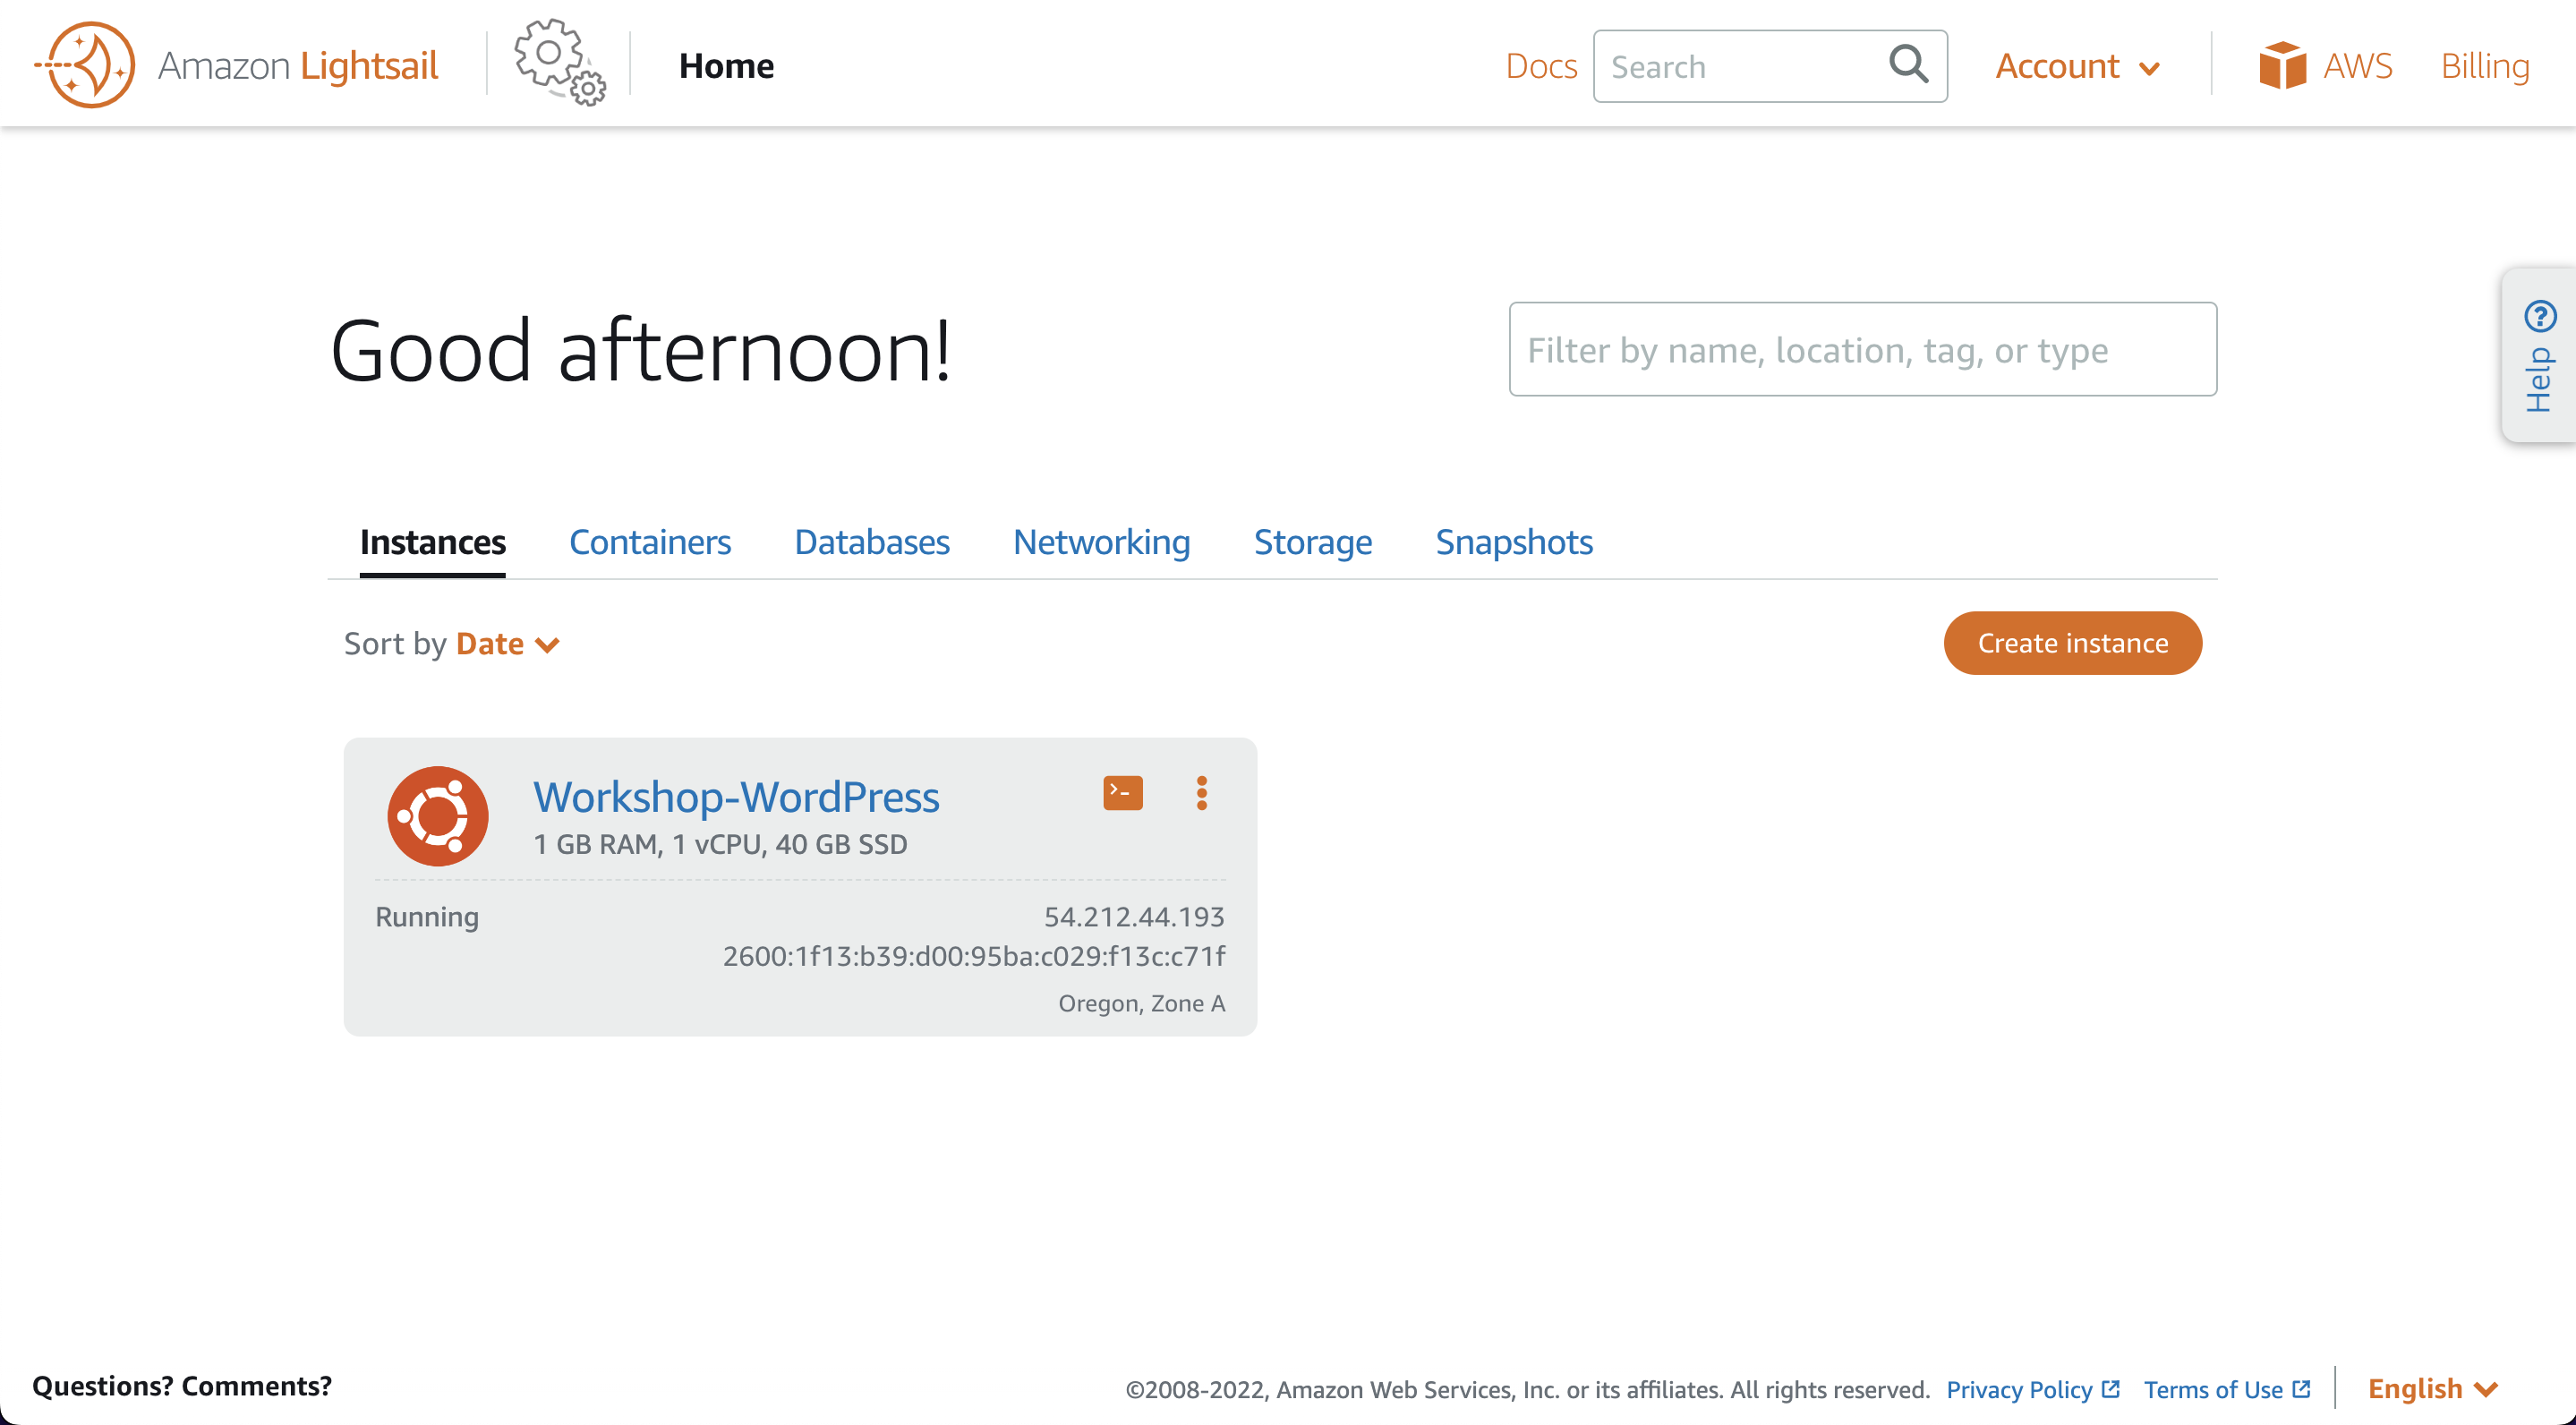
- Click on the Home if you are not redirected to the ‘Instances’ page.
-
Wait until the virtual machine (instance) changes to the ‘Running’ state, then click on the SSH icon next to the instance name to open a browser-based SSH session.

-
Run the following commands to install prerequisites as well as WordPress and WordPress CLI:
-
Sometimes Ubuntu may lose the rest of the clipboard when pasting multiple commands. These commands are broken into non-continuing points automatically. Copy and paste each part, press Enter, and proceed to the next code block after the commands are complete.
-
For our WordPress instance to work, we need to know the database location and login so that WordPress files can be installed and created in the MySQL database.
-
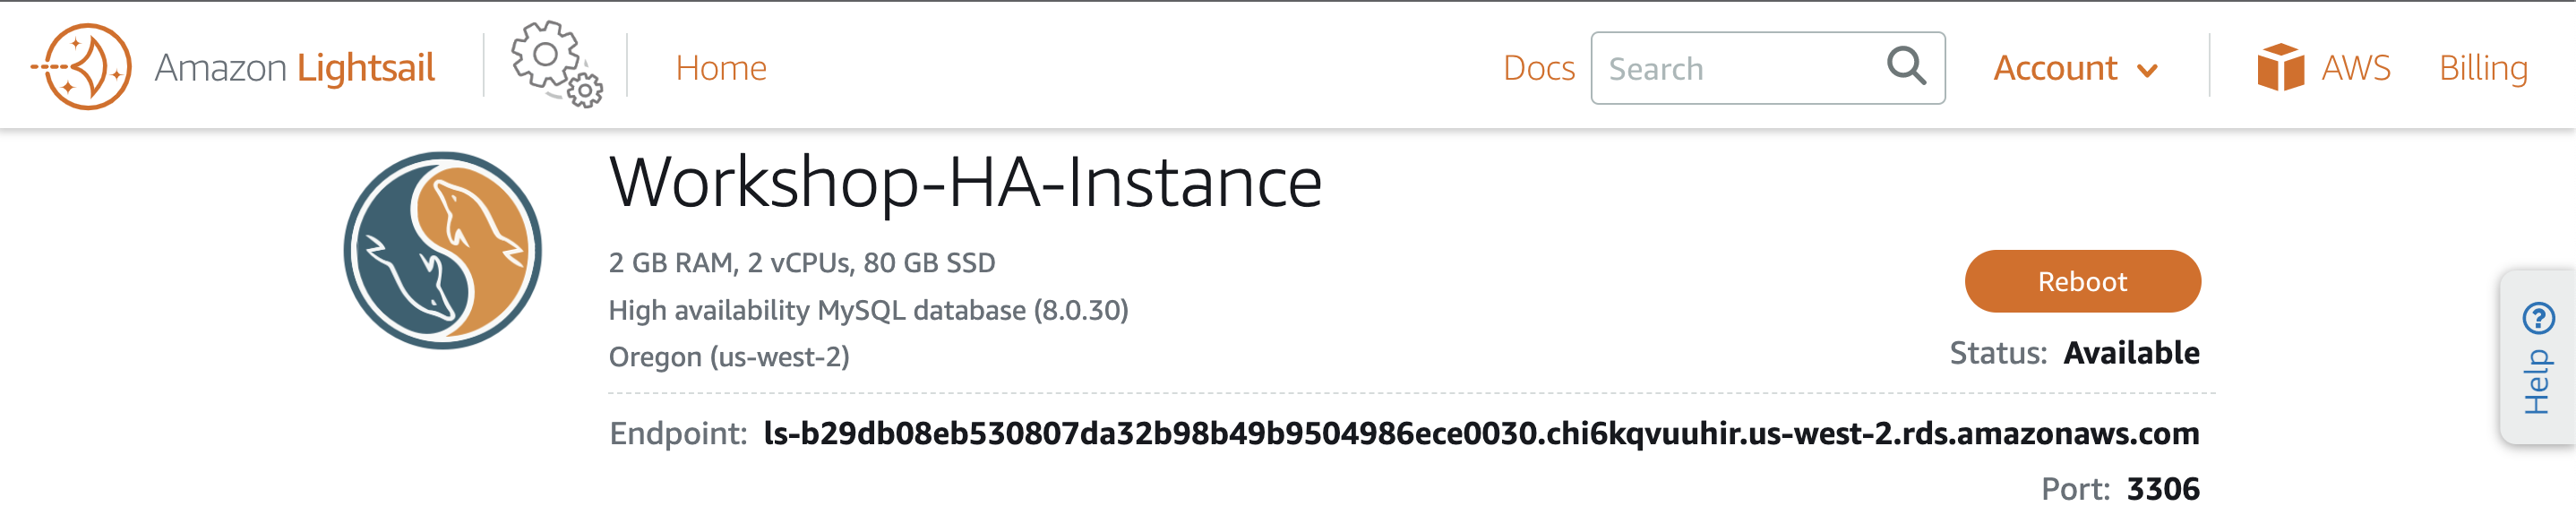
We will need to copy the code block below to a text editor to update our database URL. Once the code below has been pasted into a text editor, go back to your browser tab on the Databases page of Lightsail, click on Workshop-HA-Instance.
-
sudo wp config set DB_USER LightsailAdmin --allow-root
sudo wp config set DB_PASSWORD Sunny2DAY! --allow-root
sudo wp config set DB_NAME dbWordPress --allow-root
- Copy the endpoint URL from the Lightsail Databases page.
Replace ‘YOUR_DATABASE_ENDPOINT_URL’ with your database’s endpoint URL. It should look like: ’ls-b29db08eb530807da32b98b49b9504986ece0030.chi6kqvuuhir.us-west-2.rds.amazonaws.com’
sudo wp config set DB_HOST YOUR_DATABASE_ENDPOINT_URL --allow-root
-
Paste the updated command into your SSH session and press ENTER.
-
Close the SSH window.